Disclaimer

I created this blog so I would have somewhere to journal and share the things I make and do. I try not to steal other's ideas. Some of what I make I have seen in homes or in stores. Or I make a spin-off of something I have seen elsewhere. I will always try to give the proper credit where it is due.
~Mary
Showing posts with label crafts. Show all posts

Saturday, September 24, 2011

2012 Primary Theme


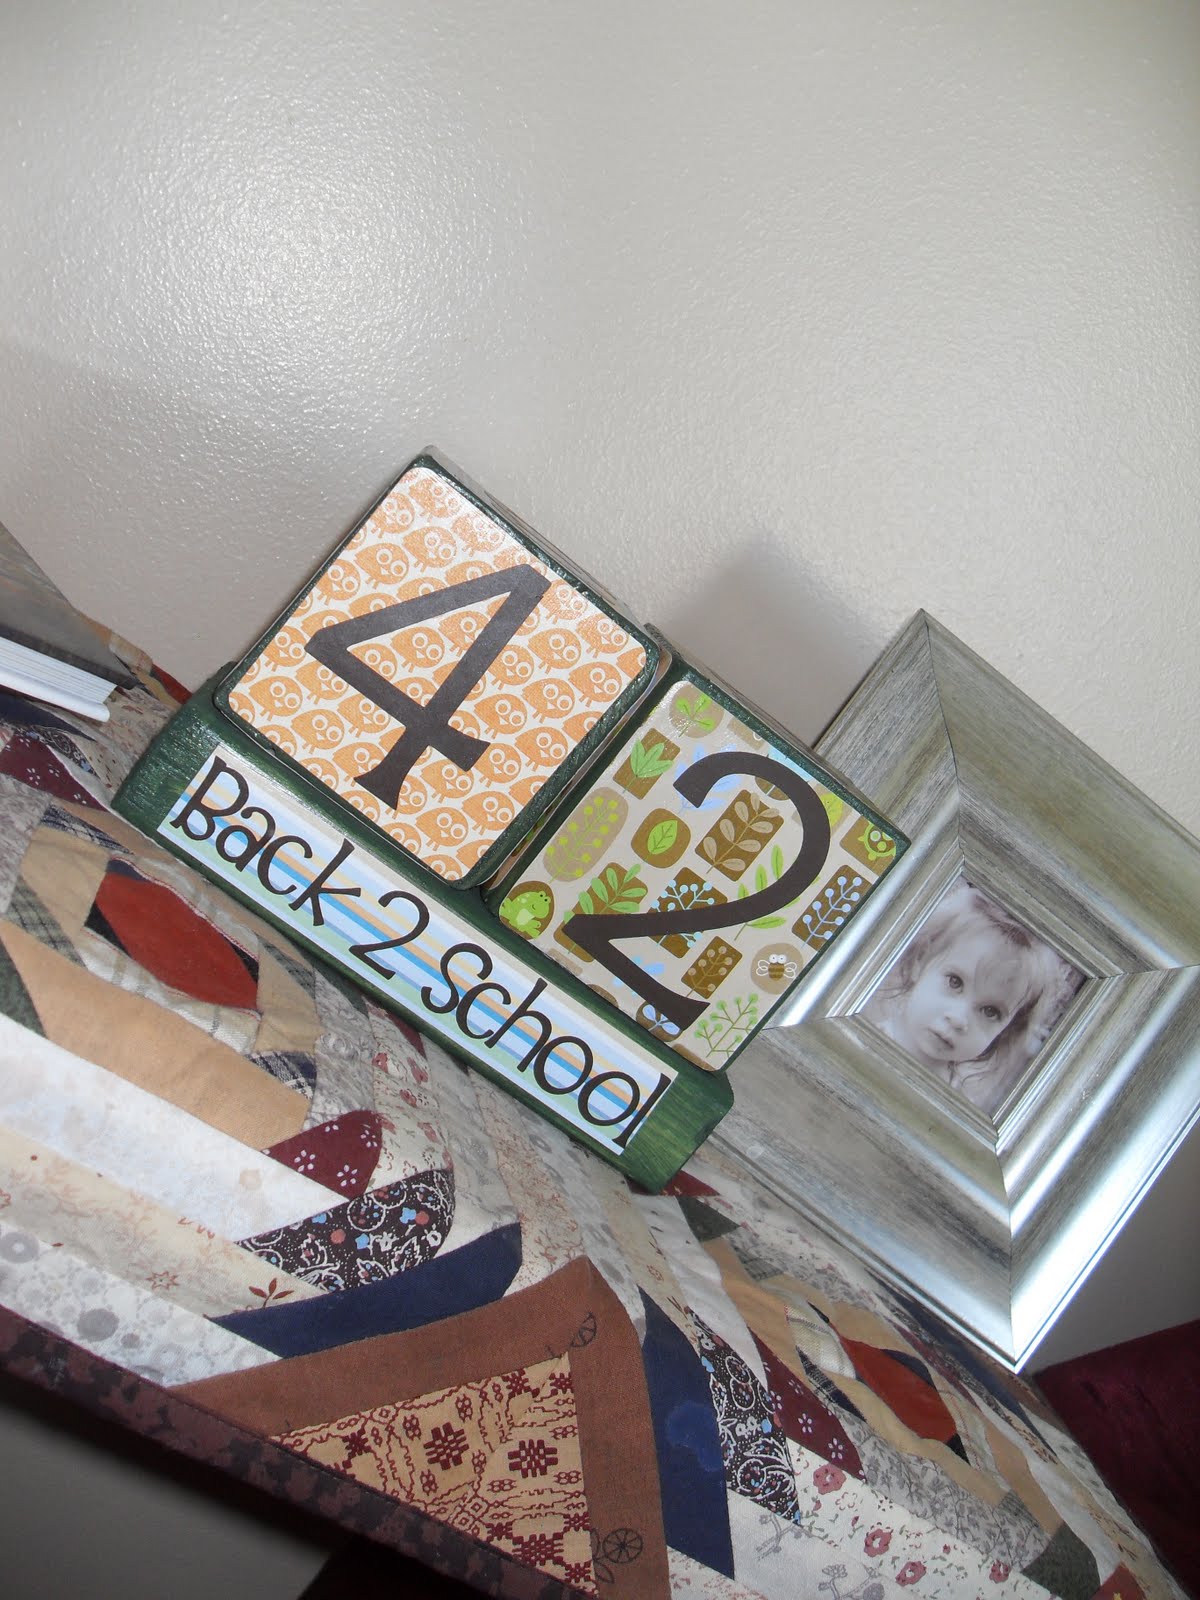
Here's a little block I made~
I've already given this one away. But I really like it! I may make another one for my daughter's room.
This post has been link to the following~


I {heart}naptime

Monday, September 5, 2011

2012 Mutual Theme

Here is where they announced the 2012 Mutual Theme.
And here is what I did with that~
All I did was paint a board chocolate brown, then an ivory over that. I sanded it down so the brown shows thru in some areas. I added some vinyl lettering and finished it all with a clear coat finish.
Then I tied some tulle around the bottom.
I LOVE this scripture and I think it's a great theme for the Mutual, as well as anyone!
This post has been linked to the following~

Tatertots and Jello weekend wrap up party
I {heart} Nap Time
Photobucket

Monday, August 8, 2011

What to do with an old window frame

My neighbor gave me this old window frame a few years ago. I wasn't sure what to do with it. Most the glass was missing and the glass that was there was cracked. So I punched out all the glass, and sanded the the whole thing down. Then I painted it black and distressed it by doing some more sanding.
I wanted to hang it up in the house somewhere, but couldn't make up my mind as to where.
I finally just thought I would see how it would look outside, somewhere.
I put it in my front flower bed.
I'm not sure if I want to maybe plant something that would crawl up it, or just leave it the way it is.
But I do like it in the flower bed!

This post has been linked to the following~

Be Different, Act Normal
I {heart} Naptime
Tatertots and Jello
Photobucket

Saturday, July 2, 2011

4th of July Painted Window

I saw this tutorial a couple of years ago and have wanted to give it a try.
But I was too chicken.
Don't ask me why, but some crafts just really intimidate me!
Anyway, the other night I was up watching Masterpiece Mystery { which is one of my fav shows to watch!}
and I decided to pull an old window I had out of my garage and finally get this window painting done!
Here's the end result~
What do you think? I'm pretty proud of myself for doing this. And if I can do this, anyone can! So go here to see how to do this yourself!
Happy Independence weekend everyone!

Monday, November 8, 2010

Thanksgiving Decor

This isn't a typical Thanksgiving quote, but I love it! I found the charger at Wal-Mart last month for $3. They might be cheaper now that they are starting to clearance the fall stuff to make room for Christmas stuff. But $3 is still a great deal! The white vinyl doesn't quite go, I think a cream or off-white would have been better. But I don't have those colors, so I just used what I did have!

Monday, October 11, 2010

Outdoor Fall Decorating.

Okay, I am not the best nor the most creative decorator. But I tried my hand at turning the outside of my home into looking a little more fall/Halloween looking.
My flowers pots I have on either side of my garage have died. I thought about planting some fall mums in them, then decided to just fill them with pumpkins and squash. I stuffed some fallen leaves in between the pumpkins and such as well.{that bush in the background will turn a fiery red soon. I LOVE it!}

I have a bench next to my porch that I put a couple of pumpkins and squash on. I think we might stuff some of hubbie's old clothes and make a scarecrow to sit on the bench as well.

I took branches left over from when we trimmed our apples trees in the spring and sprayed painted them black. Then my pre-schooler and I put some spider webs on them and a couple of spiders.{we need to buy more of those spiders, I don't know where they all go!} We then stuffed the branches into our flower pots and added more pumpkins and squash!

I tied some Halloween ribbon I got from Wal-Mart last year when it went on clearance around my lights.

I moved my wood pumpkins I showed you here, onto my porch.{I still think I want to make a third one}.

And here's a picture of my porch. Not the best looking, but I feel like every year I get a little better! And I don't think I'm quite done with the porch yet, maybe add some corn stalks, and such.

Monday, October 4, 2010

2x6 wood pumpkins


I made these with some scrap 2x6's we had laying around. I had two different heights of wood. I sanded them down, then painted them a bright orange. I then sponged a darker orange over the top of that. The 'stems' were spare blocks of wood cut from a 2x2. I painted them a green then sponged a darker green over the top.
I just nailed the stems to the top of the pumpkins. But wood glue would work just as well!
I used some scrape pieces of fabric to tie around the stems.
I then painted some wooden hearts I had and glued them onto the pumpkins and added a little raffia to the hearts.
I think I might go buy another 2x6 to make a third pumpkin....

Wednesday, August 4, 2010

Countdown to School blocks!

My pre-schooler is so excited for school to start! So I made her a countdown block set to count down the days till school starts! She doesn't start until the second week in September, but we can start the countdown now!

I used three different colored scrapbook paper. I cut them to the size I needed then I mod podged them onto painted blocks,{ the base is a 2x4 that I cut to about 7 1/2 -8 inches} then I used Vinyl for the numbers and lettering . But stickers or die cuts would work as well. Just glue those on.
These are the numbers you'll need~0,0,1,1,2,2,3,4,5,6,7,&8{ make sure the 6 can double as a 9 if it's turned upside down}.
On the first block you use ~0,1,2,3,4,5. On the second block~6{doubles as 9},7,8,0,1,2.
I also have made these for Christmas here and Halloween here.
This has also been linked to a few show-n-tell sites here, here, and here.

Thursday, June 24, 2010

More Family reunion fundraiser items!

Alright, here are some more photos of some items I've made and am donating to our family reunion fundraiser~
Lead me, Guide me stackers~

A set of photo blocks with pictures of my grandma and grandpa. Some when they were young, some when they were older~

Holiday countdown blocks~

I added some vinyl lettering to the bucket so it says ' Bucket of Spuds'. We are coming from Idaho, so I thought it would be fun. These Spud candy bars are the best, if you haven't had one, you need to find one!~

Some 12 in. tiles~
{ I got the idea for the one with names on it from here. She sells the kits for these, only I think they are for a different size block of wood, not a 12 in. tile. I just changed it up to fit what I had.}

One of my Grandma's favorite quotes form her favorite author~
{only looking at it now, I realize I added a 't' on nearest that shouldn't be there. Looks like I need to fix that before we leave!}

Be blocks~ I got the idea for these from here. She sells the kits for these,{at least I think she still does}~


This next block has my Grandpa's motto on it. It reads " Anything worth doing, is worth Overdoing."

I thought this would be great for our family~

Tuesday, June 22, 2010

Family reunion fundraiser items

I've been busy making a few items to donate to our Family reunion fundraiser. This is the first year we are doing a fundraiser, we'll see how it turns out! I think we will be raffling off items, with a few larger items being in a silent auction. All the proceeds will go to help fund future reunions!
So here's a few pictures of just a few items I've made and will donate for the fundraiser!
I'm putting together two packages that contain crochet headbands and hats for little girls/babies, that I bought at The Ribbon Retreat ,{SOOO afordable!} And I made the flower hair clips myself!~

Some Holiday Stackers. { I still need to make a summer one}~

A couple of small Pampered Chef gift sets I put together. { Did you know that Pampered Chef has an outlet store online? LOVE IT!!}~

Primary children's blocks~

I'll post some more pictures of more items later....

Wednesday, January 20, 2010

Hugs 'n' Kisses Block set

Isn't this a cute, little set? This is a set of four blocks that are painted in pink, white and red, with the same colors in vinyl lettering. They measure just under 10 inches wide and just under 7 inches tall.

Tuesday, January 5, 2010

"Come what may" quote block

Joseph B. Wirthlin was a member of the Church of Jesus Christ of Latter Day Saints. Once he told a story of how his mother would always say to him," Joseph, Come what may. And love it."
What an inspiring thought!
So I made a block with that quote on it.

I mod podged some scrapbook paper onto the block. Then printed the quote off my computer and mod podged that on as well.

Thursday, December 31, 2009

Grandkids Ornaments

This is what I made for my in-laws for Christmas this year.{ I didn't do this for my parents because they have about a hundred grand kids altogether. That would have been too much work!}
I cut a 2x2 into little blocks. Then I painted them and mod podged scrapbook paper on all sides but one. On that side I mod podged a photo of one of of the grand kids. Then I had some little hook thingeys that I stuck on the top and tied a ribbon loop through that so they can be hung on the Christmas tree.

All of the ornaments with the grand kids that I made for them. { Only one of these little cuties is mine, but there are 7 grandkids all together}

Here's a close up {fuzzy, I know} But you can see a little better the hook and ribbon and stuff I used.

Thursday, December 17, 2009

Exploding boxes

These are Christmas gifts I've made for a couple of people in our families. They are called Exploding boxes. I don't have a tute on them. I learned how to make them at my sister's 'Super Saturday'.{That's a day where, once a year, in our church the ladies get together and craft all day! My ward didn't do one this year, so my sister invited me to hers!}
But what you do is get a 12x12 scrapbook paper. Cut about a 4 inch square out of each corner. Then with what's left is what you make your box out of. Does that make sense? You can add as many layers as you want. Just make sure each one is smaller then the one before. So that means, with my next piece of paper, I cut 4 1/4 inch squares out of the corners. Then you just glue your layers together.....Am I making sense? You follow? The lids are made with a 4 1/2 inch squared piece of paper that you fold and glue to fit on top if the box.....Again, it's hard to explain. I've seen tutes on these on others blogs. I'm sure you can find one somewhere...
At first look, they look innocent, don't they?

Here's what happens when you take the lid off. The sides fall open and I've added pictures all around! There are a few layers of pictures.

Here's a closer view of the layers. Again,you can add as many as you want. Just make each one smaller than the one before.

Let it Snow blocks

These are some blocks I made last year. I cut a 4x4 into three blocks, painted them blue, then mod podged some scrapbook paper on the sides. This was before I had my Cricut, so I just used a fat, black, permanent marker and free handed it! The blocks say~ Let it snow! on each one.

Here's another view. I found some scrapbook paper with a snowman on it. So I used that on the top block. You can see the snow man on the side. So cute!

Mother Teresa quote block

Here's what I made for my daughter's pre-school teacher. I painted a piece of wood,{it measures 6 ins tall and 6 ins wide}.I painted it black and distressed the edges a little. Then I just printed out my quote off my word perfect and mod podged it on. So easy!
The quote says~
We can do no great thing, only small things with great love. Mother Teresa.

Tuesday, December 8, 2009

JOY Blocks

I made some cute blocks that say JOY. Very festive! I mod podged some paper onto painted blocks and used vinyl lettering. Very easy and fun! This first set measures 6 inches tall and 5 1/2 inches wide.

These are a smaller version. They measure 3 1/2 inches tall and wide.

Wednesday, December 2, 2009

2010 Primary birthday gifts

I was in charge of finding something to give the Primary kids on their birthdays next year. We wanted something that had the years theme on it. This is what I came up with....

I just painted some blocks and cut the lettering out with my cricut. The ones with the ribbon is of course for the girls. And the black ones will be for the boys. I think I figured the cost for everything will be around $20 total. We have only maybe 45 kids in our Primary. So very affordable, and something they can keep with the years theme on it.

Monday, November 30, 2009

Last name blocks

Okay, I saw these here, hers look much better than mine. And since it was her idea please go to her blog to see directions on how to make them. We've had three weddings the last two weeks, so I made some up.


They are so easy, I think I'll make some for Christmas gifts as well!

Sunday, November 22, 2009

Snow Dusted Pumpkins

Okay, these look ALOT better in person! They look like I missed spots in the pictures, but they really are beautiful! They look like snow has fallen on them and are all glittery!

I hosted a 'Cents of Style' party the other day. This was my refreshments table. The Pumpkins looked so good on the table!
All I did was 'paint' some craft glue on my mini pumpkins and then dusted on some white glitter. Honestly, they sparkle and look so pretty in real life! You'll have to try it to see!