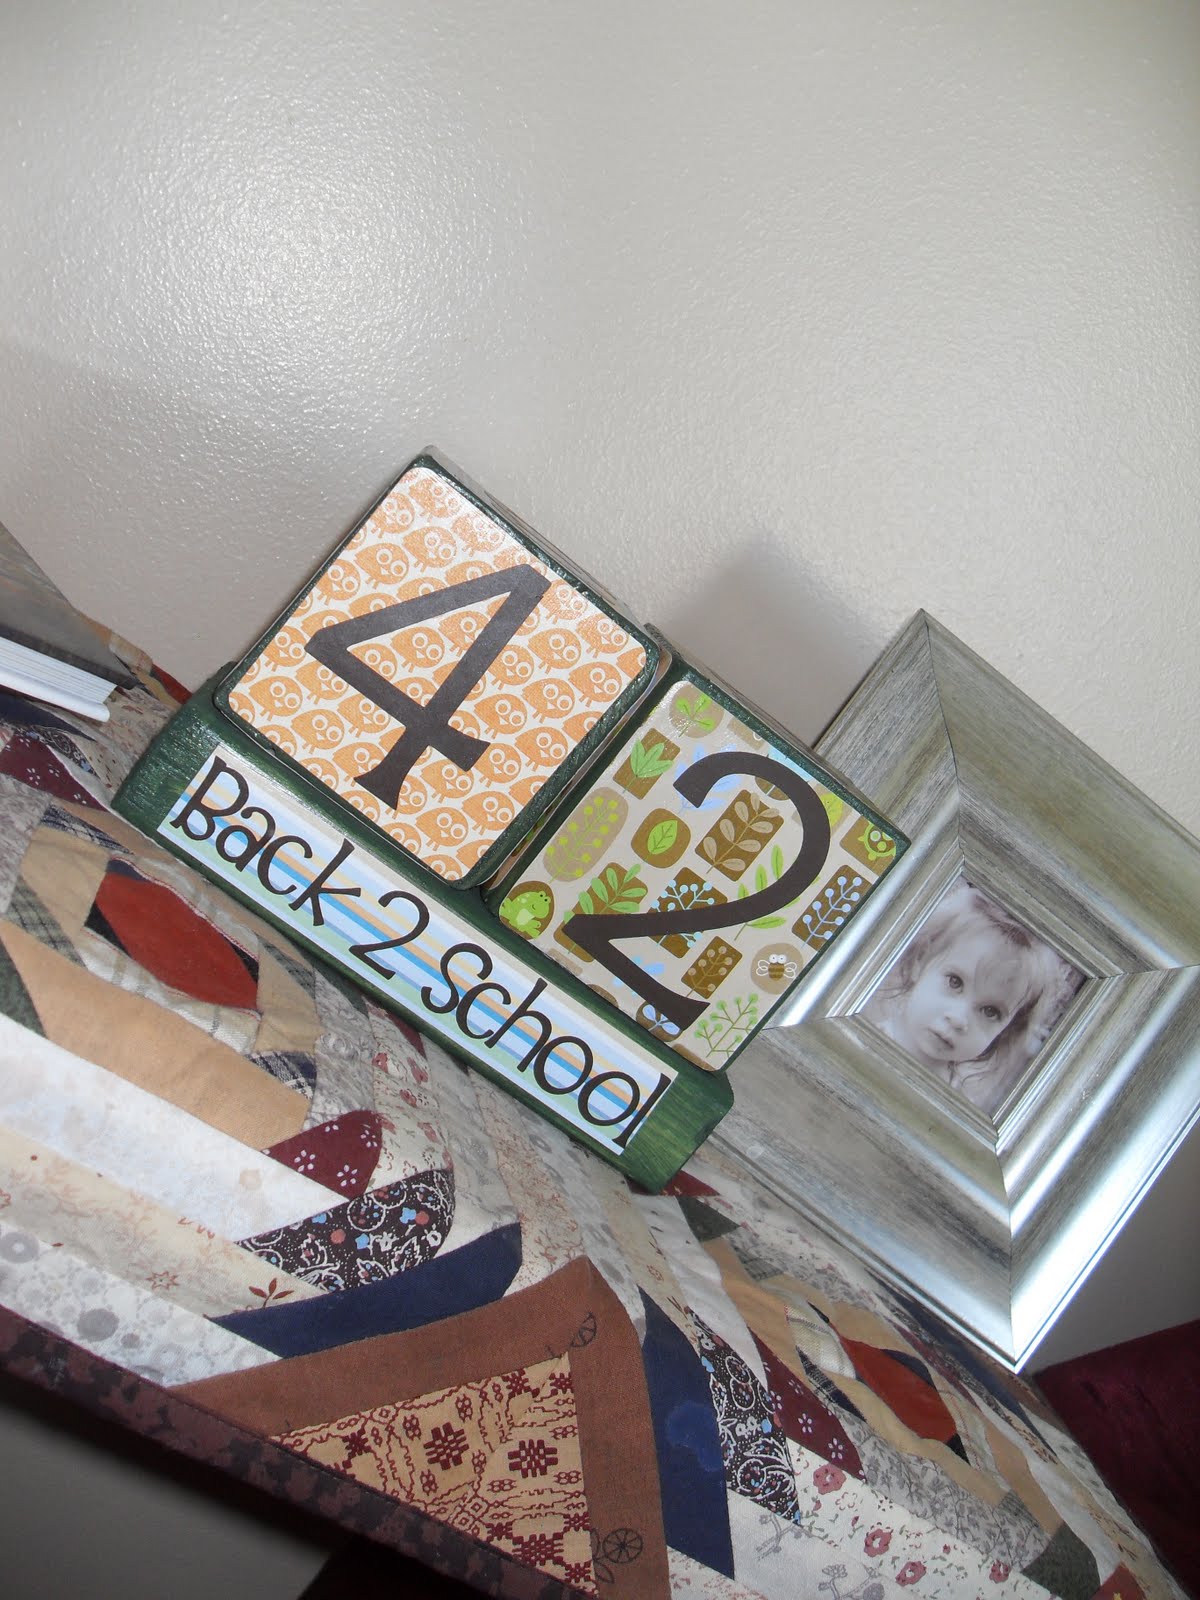
I used three different colored scrapbook paper. I cut them to the size I needed then I mod podged them onto painted blocks,{ the base is a 2x4 that I cut to about 7 1/2 -8 inches} then I used Vinyl for the numbers and lettering . But stickers or die cuts would work as well. Just glue those on.
These are the numbers you'll need~0,0,1,1,2,2,3,4,5,6,7,&8{ make sure the 6 can double as a 9 if it's turned upside down}.
On the first block you use ~0,1,2,3,4,5. On the second block~6{doubles as 9},7,8,0,1,2.
I also have made these for Christmas here and Halloween here.
This has also been linked to a few show-n-tell sites here, here, and here.


